


EYELASH LIFTING SET INCL. EYELASH & EYEBROW TINTING
EYELASH LIFTING SET INCL. EYELASH & EYEBROW TINTING

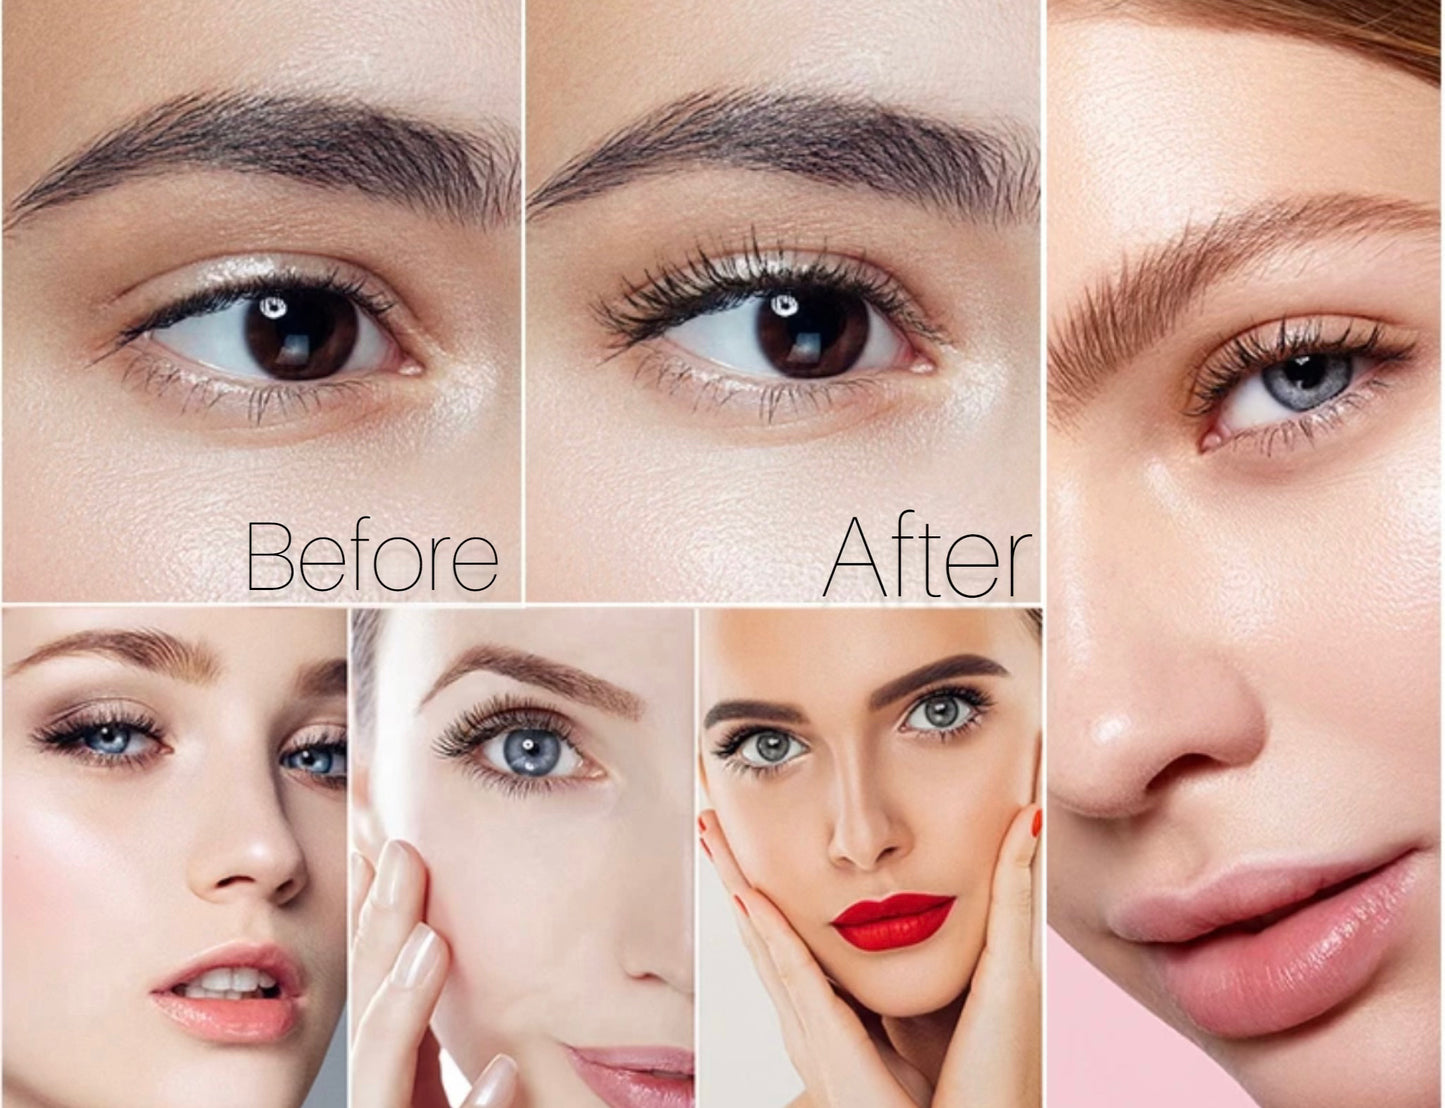
Lash lift for an open look
Intense colour for eyebrows
less make-up effort
With this kit, you can easily shape your eyelashes and eyebrows at home. The lash lift gives your lashes a beautiful curl, while the color makes lashes and brows appear more intense, fuller, and more defined.
Benefits at a glance:
✓ Easy application at home
✓ No daily curling with an eyelash curler necessary
✓ Suitable for up to 10 applications
incl. VAT plus shipping
In stock - delivered to you in 1-2 days
Couldn't load pickup availability



More information about the product
Eyelash lift application
Step 1 – Cleanse
Thoroughly cleanse your lashes with cleansing agent #4 to remove grease, dust, and make-up residues. This will optimally prepare the lashes for the lift.
Step 2 – Protect the eye area
Carefully place the silicone pads on the lower eyelids. They protect the skin and help with precise work.
Step 3 – Choose suitable lift pads
Select the appropriate size of lash lift pads: S, M, M1, M2 or L.
Tip: The smaller the pad, the stronger the curl.
Step 4 – Attach the lift pad
Apply a thin layer of lash adhesive to the silicone pad and place it on the upper eyelid. Make sure it adheres well.
Step 5 – Secure the lashes
Apply some adhesive to the lashes, wait approx. 15 seconds, and comb the lashes straight onto the silicone pad with the Y-brush. Let the adhesive air dry slightly for 20–35 seconds.
Caution: Too much adhesive can impair adhesion.
Step 6 – Shape the lashes
Use the Y-brush to carefully align and shape the lashes.
Step 7 – Apply #1 Perm
Apply the #1 Perm lotion to the lashes and cover them with cling film. Development time: 10–12 minutes.
Step 8 – Apply #2 Fixation
Gently remove the #1 Perm lotion with the Y-brush. Then apply the #2 Fixation, cover the lashes again with cling film, and let it develop for 10–12 minutes.
Step 9 – Remove adhesive
Cleanse the lashes with cleansing agent #4 to gently remove adhesive residues.
Step 10 – Apply care
Finally, apply the #3 Care. It nourishes the lashes and gives them additional shine and smoothness.
Note:
In the next 48 hours after the treatment: No contact with water, no lash make-up, no heat or steam, no oil-based products, and no rubbing or pulling at the lashes.
Tint Application
Step 1 – Thoroughly clean
Carefully clean eyelashes and eyebrows to remove residues, oil, and makeup.
Step 2 – Protect skin
Apply a small amount of Vaseline or a skin protective cream to the surrounding skin areas to protect them from the tint.
Step 3 – Apply eye pads
Place the eye pads as close as possible under the lower eyelid, without covering the eyelashes. This prevents skin discoloration.
Step 4 – Mix color
Mix the cream dye with the cream developer.
For eyelashes: 1:1 ratio
For eyebrows: 1:2 ratio
Step 5 – Apply tint
Start with the lower lashes and apply the tinting cream with a tinting brush.
Step 6 – Keep eyes closed
Close your eyes and keep them closed throughout the entire application and removal process.
Step 7 – Tint upper lashes
Apply the tinting cream to the upper lashes – from base to tip. Make sure to cover the outer lashes as well.
Step 8 – Let it set
Leave the tint on the lashes for approx. 15 minutes.
For eyebrows, approx. 10 minutes are usually sufficient.
Step 9 – Remove tint
Carefully remove the tinting cream without pressing the color into the skin.
Step 10 – Final cleaning
Remove the eye pads and clean the eye area with a damp cloth and cold water. Hold the cloth close to the eye to catch any excess water.
Note:
In the next 48 hours after the treatment: No contact with water, no lash makeup, no heat or steam, no oil-based products, and no rubbing or pulling at the lashes.
Scope of Delivery & Ingredients
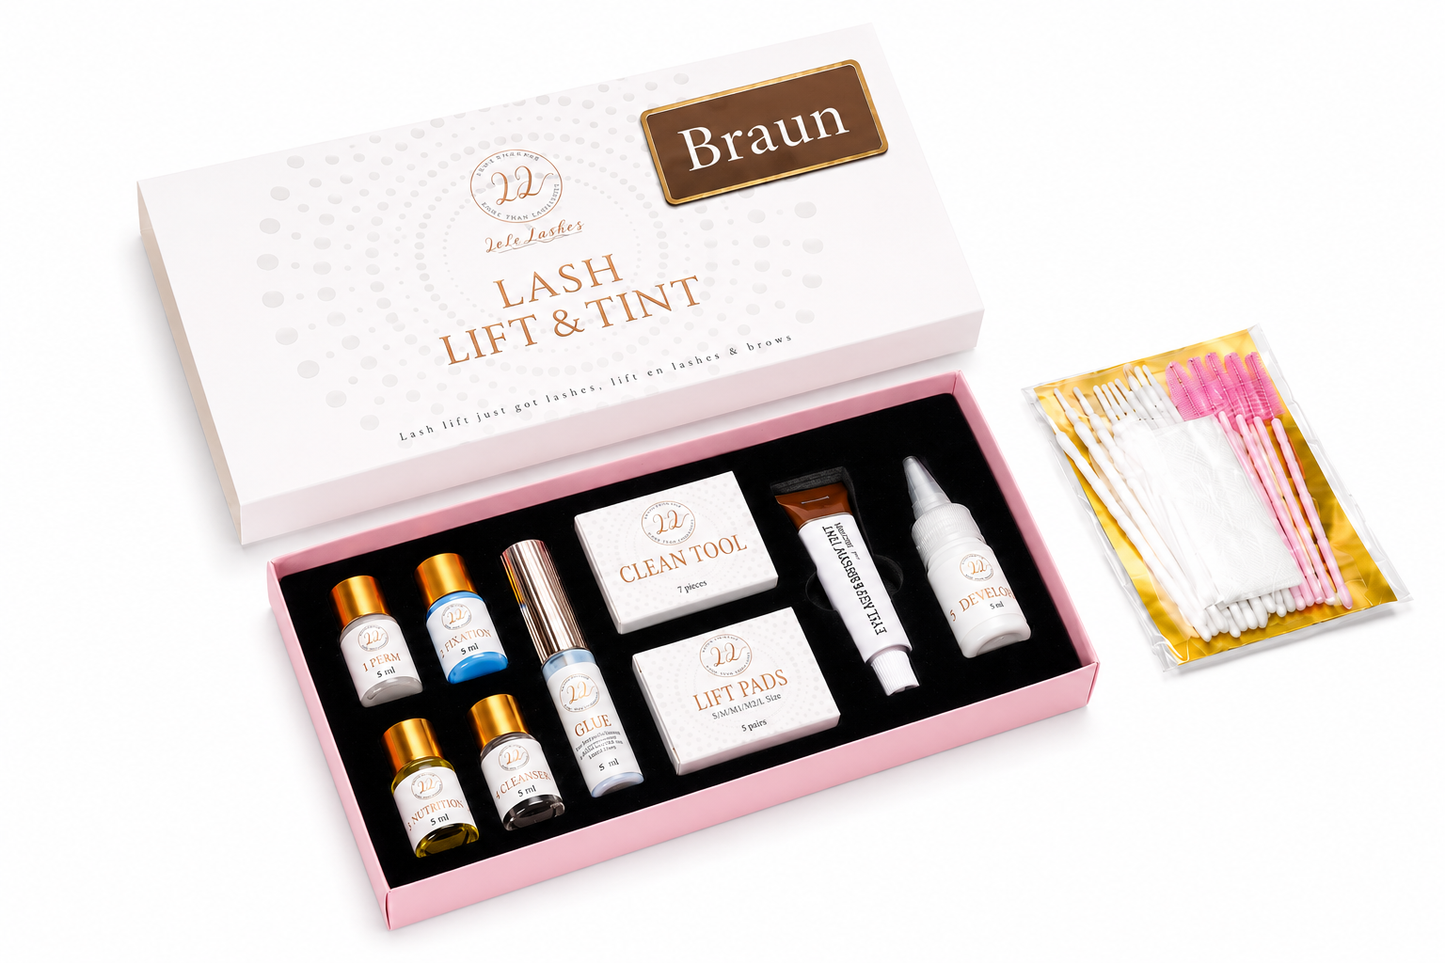
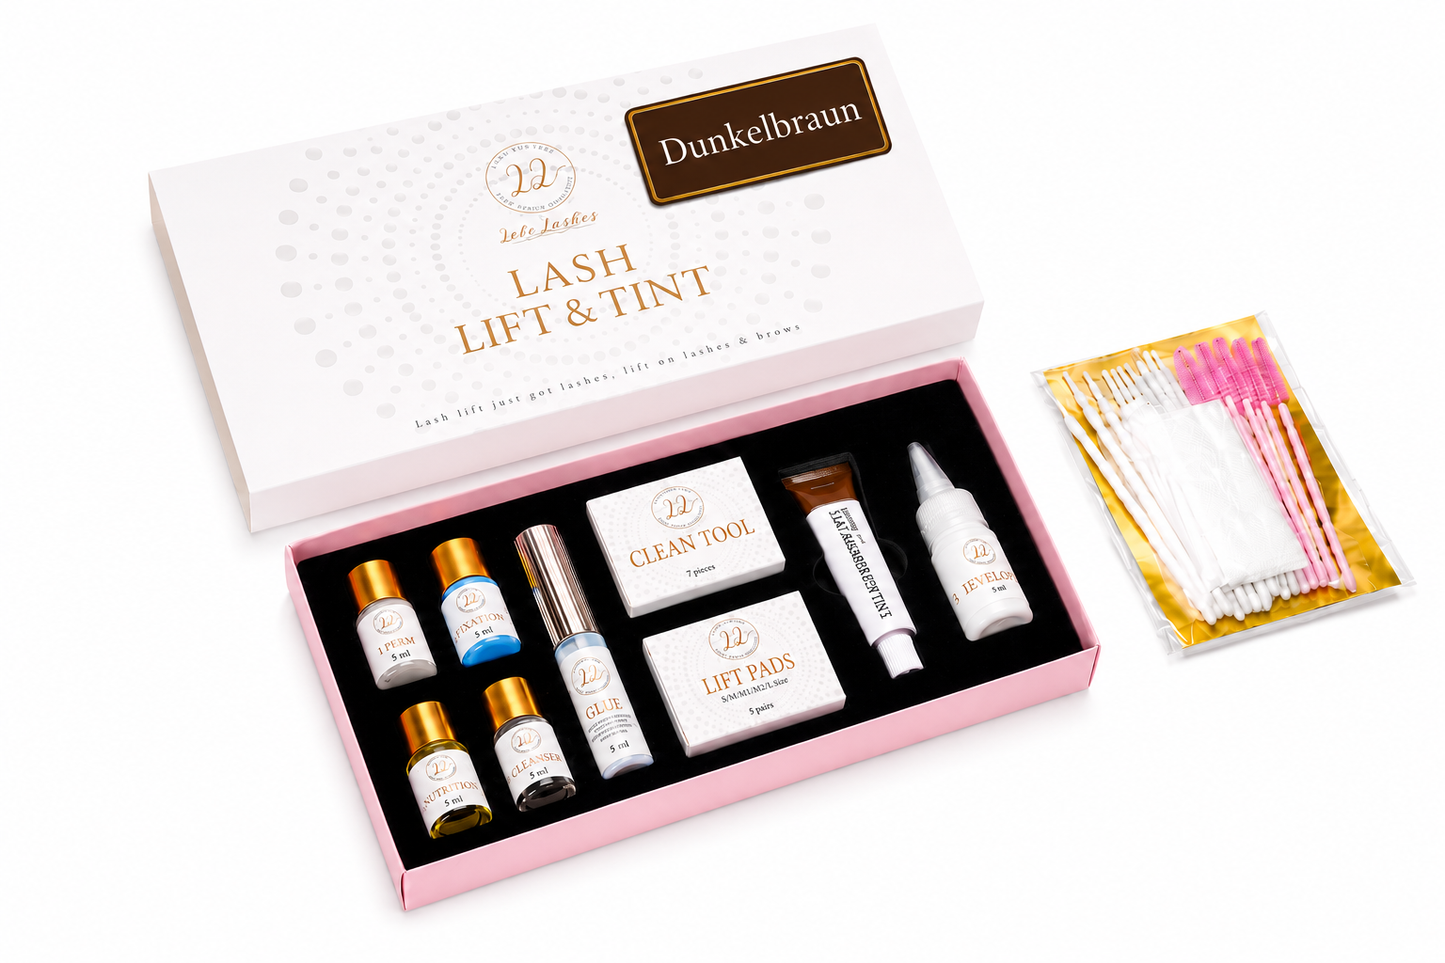
#1 Perm 5ml (Polyacrylamide, Thioglycolic Acid, Propylene Glycol, Purified Water)
#2 Fixation 5ml (Polyacrylamide, Purified Water, Propylene Glycol, Methylparaben)
#3 Nutrition 5ml (Propylene Glycol, Methylparaben, Collagen, Purified Water)
#4 Cleanser 5ml (Methylparaben, Purified Water)
Eyelash Adhesive 7ml (Polyacrylate, Emulsifier, Deionized Water, Ammonium Sulfate)
3x Y-shaped Brushes (Clean Tool)
2x Eye Pads
5 Pairs of Lift Pads in Silicone (S, M, M1, M2, L)
1x Eyelash and Eyebrow Tint 7ml
1x Developer 7ml
10x Micro Brushes
5x Eyelash Brushes
1 Pair of Disposable Gloves
It's That Easy: Lash Lift
-

1. Cleanse eyelashes
-

2. Apply lotion
-

3. Maintain momentum in position
-

4. Care


So einfach geht's - Wimpern Tönung
-

1. Wimpern reinigen
-

2. Haut schützen
-

3. Tönung auftragen & einwirken lassen
-

4. Tönung entfernen & reinigen


It's that easy - Eyebrow Tinting
-
1. Cleanse brows
-

2. Mix the tint
-

3. Apply & let it work
-

4. Remove


-
✨ Instantly More Expression
Add more curl to your lashes and depth to your brows – for a fresh, open look in just a few minutes.
-
💎 Salon-Quality Results at Home
Our lash lift with eyebrow tint ensures naturally curled lashes and defined, fuller-looking brows with a well-groomed finish.
-
🌿 Lastingly beautiful
Perfect for everyday wear, holidays or events – your look appears effortlessly well-groomed, naturally beautiful and expressive.

Why Lash Lift & Brow Tint?
An open gaze and defined brows will transform your entire look. A lash lift gives your lashes a natural curl, while eyebrow tinting provides more depth and expression – fresh, well-groomed, and suitable for everyday wear.

More Expression Without Daily Effort
With curled lashes and tinted brows, your eyes immediately appear more awake and harmonious. Ideal for anyone who wants to save time in the morning while still looking well-groomed, natural, and expressive.
Frequently Asked Questions
How long does the Brow & Lash Lift last?
The result can remain visible for different lengths of time depending on hair structure, care, and natural growth. For a long-lasting beautiful result, you should follow the application instructions carefully.
Is at-home brow and lash lifting suitable?
Yes, the set is also intended for home use. It's important that you work carefully and follow the instructions exactly.
Does the result look natural?
Yes, Brow & Lash Lifting creates a fresh, open look with naturally shaped brows and curled lashes – without looking artificial.
What should I consider before use?
Brows and lashes should be clean, dry, and free of makeup, oil, or skincare products. Avoid direct eye contact and adhere to the recommended development time. For the first 48 hours after application, avoid heat, steam, saunas, sunbeds, heavy sweating, and oil-based products to ensure the best results.
You'd like that too.


